
|
|
|||||
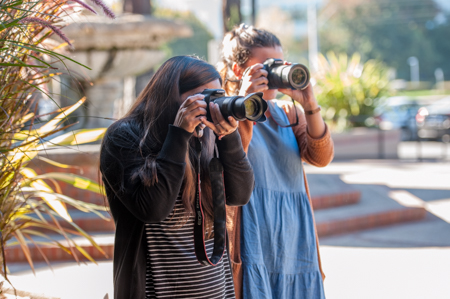
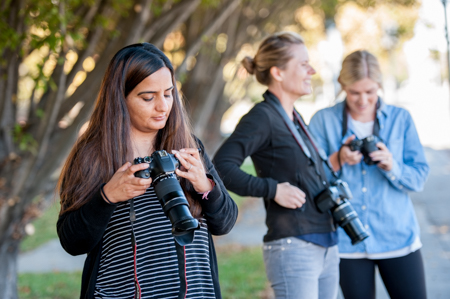
On the morning before daylight savings, I took a group of five students into the world of portrait photography. We still had a day before the sun would rise early, giving us the opportunity to work with some soft, indirect light. We started the class off with an indoor session to review exposure, settings, and composition, and then headed out to photograph our model, Andon!
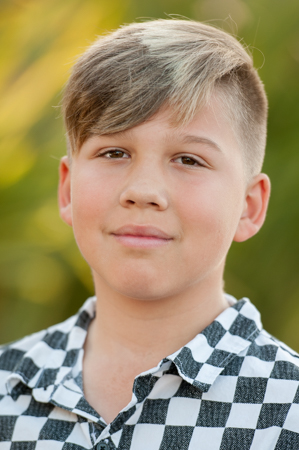
Even in the indoor session, I could see the engagement from the students. They asked questions about settings and were with me every step of the way. It was not a surprise to see them pick up photographing Andon right away when we went outside. Like always, I started with some visual comparisons on lighting. We first photographed Andon with the sun directly in front of him. Since the sun was still rising, the result was not as harsh—however, it was lower in Andon's line of sight, causing him to squint quite a bit. Side lighting was not much better; even in the softer sunlight, the students were able to clearly see the unwanted shadows appearing on one side of his face. Finally, we tried backlighting. I was delighted when one of the students exclaimed out it turned out so much better than she expected! Backlight is often overlooked because people assume if there is no direct sunlight, then it would “look too dark,” when in fact it is quite the opposite. The only issue that arose was the haze and lens flare backlight caused. I quickly pointed to one of my students who was shading her eyes from the sun and explained that haze and lens flare can be easily removed by simply doing the same thing to the lens.
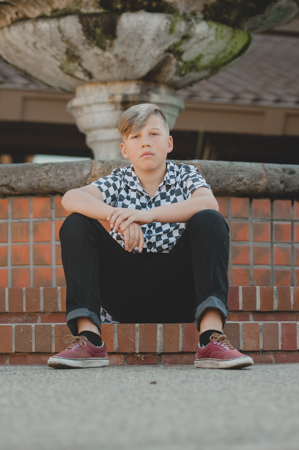
 We worked with angles next. Oftentimes, students would ask what is the best angle to photograph. Straight on, higher, or lower? I always explain that straight on can ever be wrong, but if they want to experiment with mood, photographing at a high angle can make the model slightly more elegant while the lower angle can make him more dominant and dramatic. With Andon, we went with a low angle—having him sit on the step of the foundation. Practically laying on the floor, we were able to get a couple shots, and with Andon's natural confidence, it worked well.
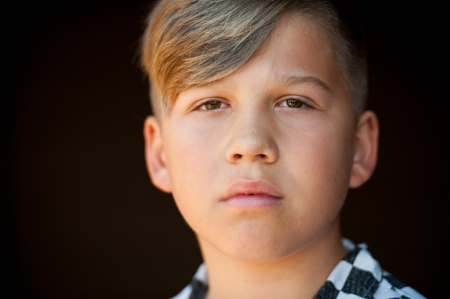
When we moved on to head shots, I was excited to tag Andon out and model the “turtling” technique. When someone cranes their head forward, it really tightens their jawline, creating a much more flattering look. I found this tip to be particularly helpful to one of my students who wanted to take head shots for the employees at her work. We worked with some extreme close ups as well, while using that telephoto lens to bring forward a dark wall—the final result mimicking a studio portrait.
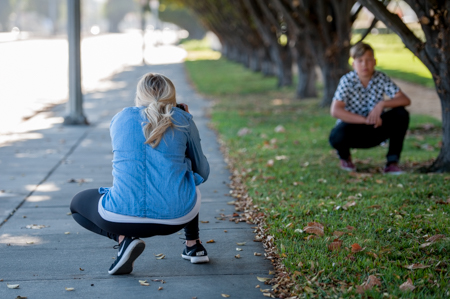
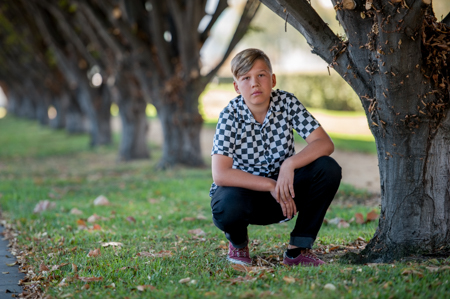 With time running down, I asked the students if they would prefer practicing photographing a moving subject or framing with natural. Majority ruled on framing with nature—so we head across the street to my favorite row of trees. Not only can you get some amazing leading lines when working with rows of trees, they also create natural frames. We had Andon crouch down a bit against on of the trees, using the negative space in between to create a frame.
Time flew by so fast, and before I knew it, we were taking our group picture. I took the opportunity to ask the students what the best aperture would be for the shot, especially with depth of field in mind. They responded with f/8, which I agreed with—the final lesson of the day. I bid my students farewell in hopes they will continue to practice their craft and with this group, I have no doubt they will do just that!
Until next time,
Mary and the rest of the Aperture Academy Team!
If you'd like to join us at one of our workshops, you can find the schedule/sign up here.
 |
 |
 |
 |
 |
 |
 |
 |
|
 |
Other Cool Stuff→ Past Workshop Photos → 72dpi.com → How-To Articles → Photographer of the Month |
 |
Contact Us→ Contact Us → About Us → Site Map |
© 2009-2024 Aperture Academy, Inc.


