|
|
|||||
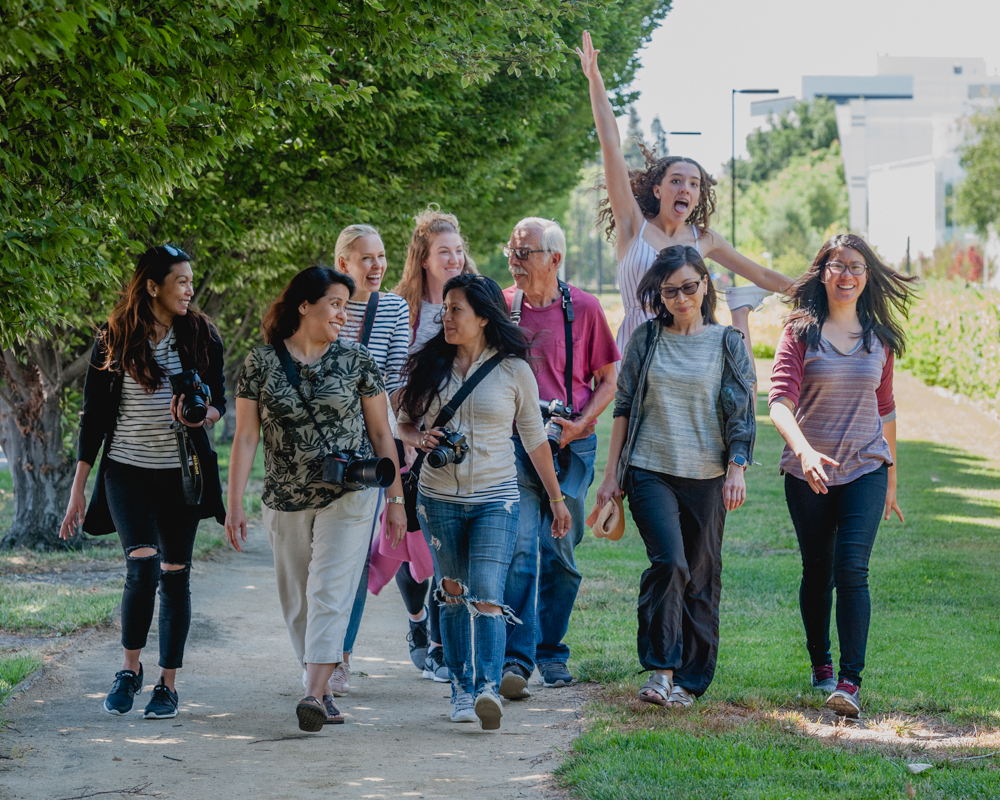
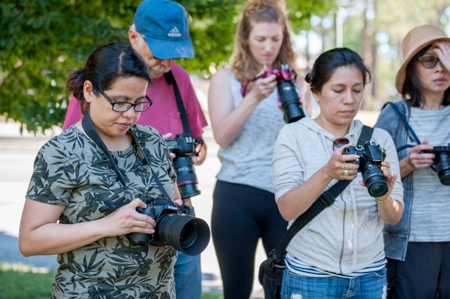
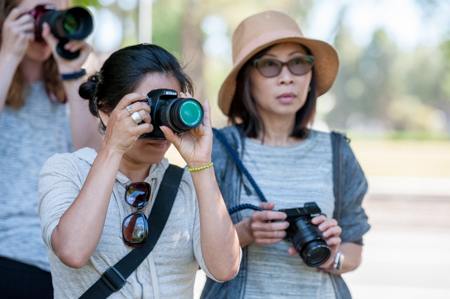
Growing up, summer was always my favorite season, because school was out, and I could finally do what I wanted. Now, being a teacher still gives me the luxury of summer vacation! So what’s the best way to spend my time? Practicing my portrait photography skills and passing some knowledge along! I spent Saturday morning guiding a eager group of students through the world of portrait photography. We had students with a multitude of backgrounds: from the landscape enthusiasts to the parent photographers, our goals were the same—to get better at taking pictures of people.
We started off with a basic review of settings, technical skills, and composition. The exposure triangle is the foundation of all photography, and while digital cameras now-a-days come with a variety of priority modes, a good photographer still needs to understand the basics. We focused the most on our aperture, which controls the depth of field in a photo. Naturally, in portrait photography, we usually want to blur out our backgrounds, thus using a big aperture a majority of the time.
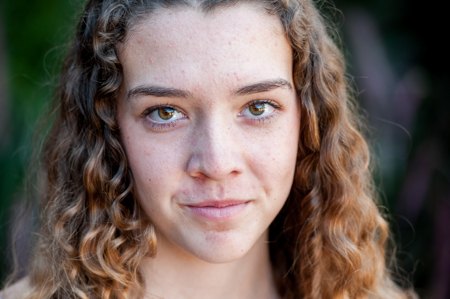
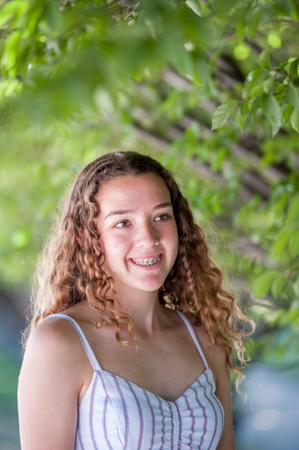
After the review, we headed out to photograph our model of the day, Kayla. First, we started with some light tests. Seeing and working with natural sunlight can be tricky, but it is all about positioning! Right away, the students noticed that backlighting gave the most even lighting on Kayla’s face—no harsh shadows and contrast. The same effect can apply when the subject is in shade, but a photographer does not always have that luxury.
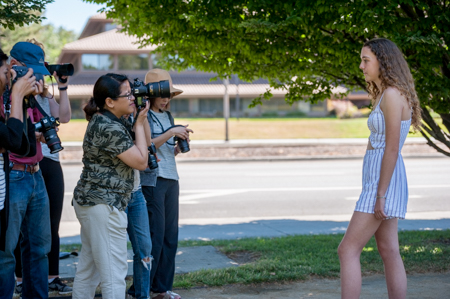 Next we worked with different lens types. There are two types of lenses I recommended for portrait photography. A couple of students came with an 85mm prime. It was an excellent choice for a portrait lens as its ability to open up to f/1.8 give an incredibly shallow depth of field and amazing bokeh. My personal favorite is a telephoto lens, however, as it has the versatility to enhance the blur in the background as well as compress the image. By using a telephoto lens, a photographer can isolate a small area and use it as the entire background of their portrait.
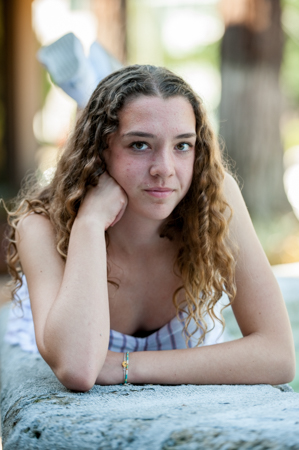
The rest of the class consisted of working with Kayla as a model—interacting with her, positioning her, and photographing her moving. With positioning, getting the subject to shift their weight can bring them to a more relaxed position. Sitting or lying down is also a strategy to get them to relax. When photographing head shots, I demonstrated how important it was to have your subject’s head out and down, tightening their jawline. Ironically, I am naturally horrible at this when I was in front of the camera. Like most people, I tend to throw my head back when I laugh (and just in general). Not a good look…
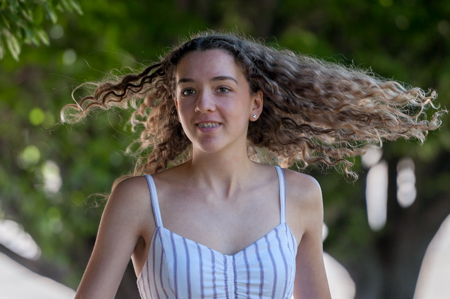
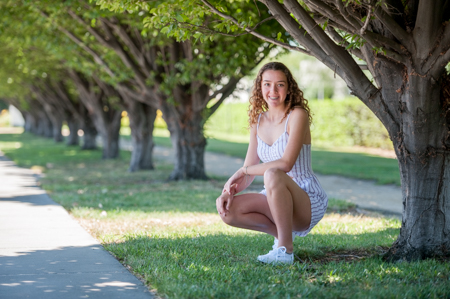 We ended the class with some framing techniques, and practiced photographing Kayla as she walked. Moving subjects are always tricky as focusing can be tough, but we worked on shooting in AF-C or AI Servo—having the camera continuously focus on the focal point, even as the subject moves toward us. Coupled with a continuous release mode and voila, we walked away with some sharp images!
Before I knew it, we took our family portrait-esque group photo and the students were off. With practice and patience, I know that their journey to become better portrait photographers will be a success!
Until next time,
Mary and the rest of the Aperture Academy Team!
If you'd like to join us at one of our workshops, you can find the schedule/sign up here.
Leave & read comments below...
 |
 |
 |
 |
 |
 |
 | |
|
 |
Other Cool Stuff→ Past Workshop Photos → 72dpi.com → How-To Articles → Photographer of the Month |
 |
Contact Us→ Contact Us → About Us → Site Map |
© 2009-2024 Aperture Academy, Inc.
