|
|
|||||
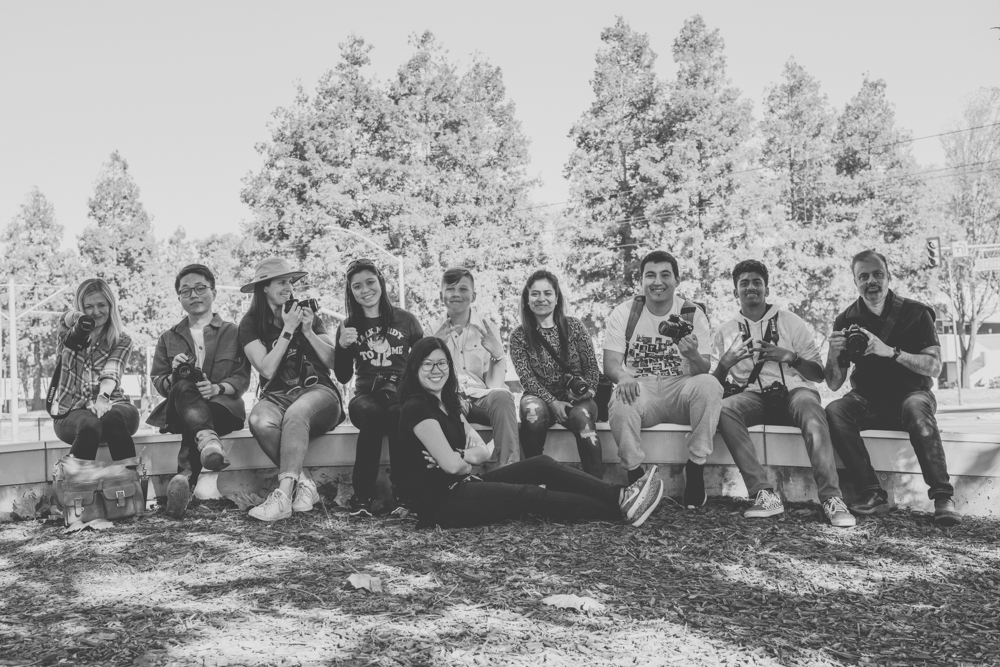
There is so much to learn when it comes to photography, and nothing pleases me more than being able to share some of the knowledge I've gained throughout my journey as a portrait photographer. On a cloudy but beautiful Saturday morning, I took a group of Aperture Academy students through the world of natural light in portrait photography. Right from the start, they were an engaged group, asking questions and actively participating in the learning process. We spent a little longer than normal in our indoor session, discussing the importance of aperture, shutter speed, and ISO when it comes to photographing portraits, but eventually we stepped outside for the real lesson of the day: how to properly photograph our model, Andon, in natural light.
The clouds were a nice diffuser to what would have been harsh sunlight, and this gave us more opportunities to photograph Andon in different areas. We first practiced with a telephoto lens, using its ability to compress the image to minimize the backdrop. What was an unflattering backdrop of office buildings, suddenly became a blurry bush that separated from our model really well. Next, I had the students look for areas that would work well as a backdrop. They kept in mind the distance from Andon to the background, realizing that the further away he was from the background, the more blurry it would be. We settled on having him lean up against a tree, and positioning the camera so that he would block any distractions from the parking lot behind him.
 We continued to play around with angles, looking at the difference between a higher vs. lower angle. The lower angle tends to make the subject appear more dominant while the higher angle lends to a more playful feel. It was around this time that the sun decided to join the party as well! The clouds parted briefly and we were able to experiment with the harsh sunlight. Quickly, the students realized that backlighting in the sun was the most even light, and as long as we angle ourselves to find a background with similar shade, the exposure would be nice and even all around. I demonstrated the range of tones that the camera sees by positioning Andon in the shade with a dark building behind him. While our eyes can clearly see the unflattering building, because it had an overhang, to the camera, it would seem like a very dark wall—almost serving like a black studio backdrop.
As our time was coming to an end, we crossed the street to experiment with using leading lines and framing with nature. Using negative space in a portrait can create a great frame, and we did just that by positioning Andon under and in between two trees. Coupled with using our telephoto lenses, we were able to get some leading lines from the row of trees behind him as well.
We ended our session by practicing capturing movement. We changed some settings on our camera before Andon ran and leapt along the walkway for us. The first was release mode. Instead of photographing with a single frame, we set it to continuous shooting (or what my high school students affectionally call "burst mode"). Secondly, we adjusted our focus mode to AF-C or AI Servo—Nikon vs. Canon respectively. This setting tells the camera to continuously focus on the focal point rather than locking, which is helpful when our model is moving quickly toward us. Andon was a great sport as he sprinted and leapt with ease, giving everyone ample practice.
Before I knew it, our three hours were up! I am definitely glad to have met such an inquisitive group, and I hope they continue to practice what they learned on their own time!
Until next time,
Mary and the rest of the Aperture Academy Team!
If you'd like to join us at one of our workshops, you can find the schedule/sign up here.
 |
 |
 |
 |
 |
 |
|
 |
Other Cool Stuff→ Past Workshop Photos → 72dpi.com → How-To Articles → Photographer of the Month |
 |
Contact Us→ Contact Us → About Us → Site Map |
© 2009-2024 Aperture Academy, Inc.


