|
|
|||||
Portrait photography. We see it everywhere: from the social media selfie to family christmas cards, portraits are integrated into our daily lives. So what separates the everyday snapshot from professional portrait? One, the proper use of equipment and lighting. Two, a bit of post-processing to optimize an already solid photograph.
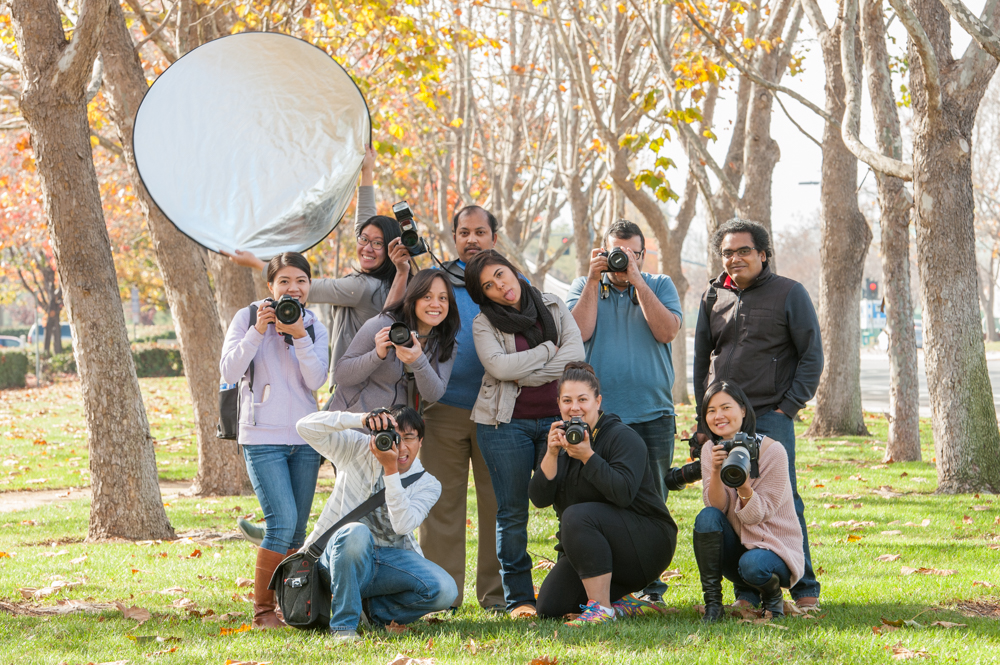
A group of seven students and I started our Sunday morning focusing on these two skills. After a quick review, we headed outside to photograph our model, Holga. One of the main struggles for photographers is when the sun is high and not diffused by any clouds. Luckily, this was the lighting we had to work with that day, so it was a perfect opportunity to practice. The students and I focused on backlighting first—it was a great way to eliminate any shadows on the face and use indirect light. The only issue was it can very easily create a silhouette of the subject with the background blown out. The secret was to find a background that was in shade as well, making it the same exposure as the subject's face.
 We then practiced finding that background; this was the time to bust out that telephoto lens! The telephoto lens is such an underrated tool in portrait photography, but as soon as my students backed away from the subject and zoomed in, they were able to isolate a certain part of the background they wanted. It was a fun little trick, especially when you are in an environment that is not the most scenic.
Posing and positioning is also very important to having a successful portrait. I don't often pose my subjects too much, as I like the more natural and candid look, but giving a model direction is important. For example, if you are photographing head shots, there are some techniques to get the most appealing look. When we laugh or relax, our heads tend to fall back against our shoulders, causing the skin under our chin to bunch up. While it is natural, we made an exception and told Holga to adjust by pushing her forehead toward the camera. By doing so, the skin tightens and light wraps around the jawline—a much more flattering look.
 After our shooting session, we headed back indoors to download our photos into Lightroom so they were ready for us to edit when we got back from lunch. We ran through the basic organizational strategies of Lightroom such as ratings and collections in the Library Module before working with editing in the Develop Module. When editing, we first ran through lens correction—correcting distortion but keep the natural vignette from the lens on a single image. Then, we applied this edit using my favorite feature in Lightroom: sync! Edit one image, choose which edits to copy and paste to multiple images, and voila!
Next up was color correction and tonal adjustments. When shooting in RAW, we were able to easily adjust the color temperature during post-processing. As for tone, we practiced selectively adjusting the contrast and exposure using the highlight, shadow, blacks, and whites sliders. This gave us the most control on how we wanted the final image to look. Control is one of Lightroom's greatest strengths, and just like tonal quality, Lightroom also allows us to selectively saturate certain colors, which is especially useful when trying to avoid over-saturating skin. We ended with presets, specifically masking—smoothing skin, whitening teeth, etc. After exporting their images, the students were ready to head home and continue fine tuning their editing skills.
Until next time,
Mary and the rest of the Aperture Academy Team
If you'd like to join us at one of our workshops, you can find the schedule/sign up here.
 |
 |
 |
 |
 |
 |
 |
 |
 |
 |
 |
 |
 | |
|
 |
Other Cool Stuff→ Past Workshop Photos → 72dpi.com → How-To Articles → Photographer of the Month |
 |
Contact Us→ Contact Us → About Us → Site Map |
© 2009-2024 Aperture Academy, Inc.


